Introduction
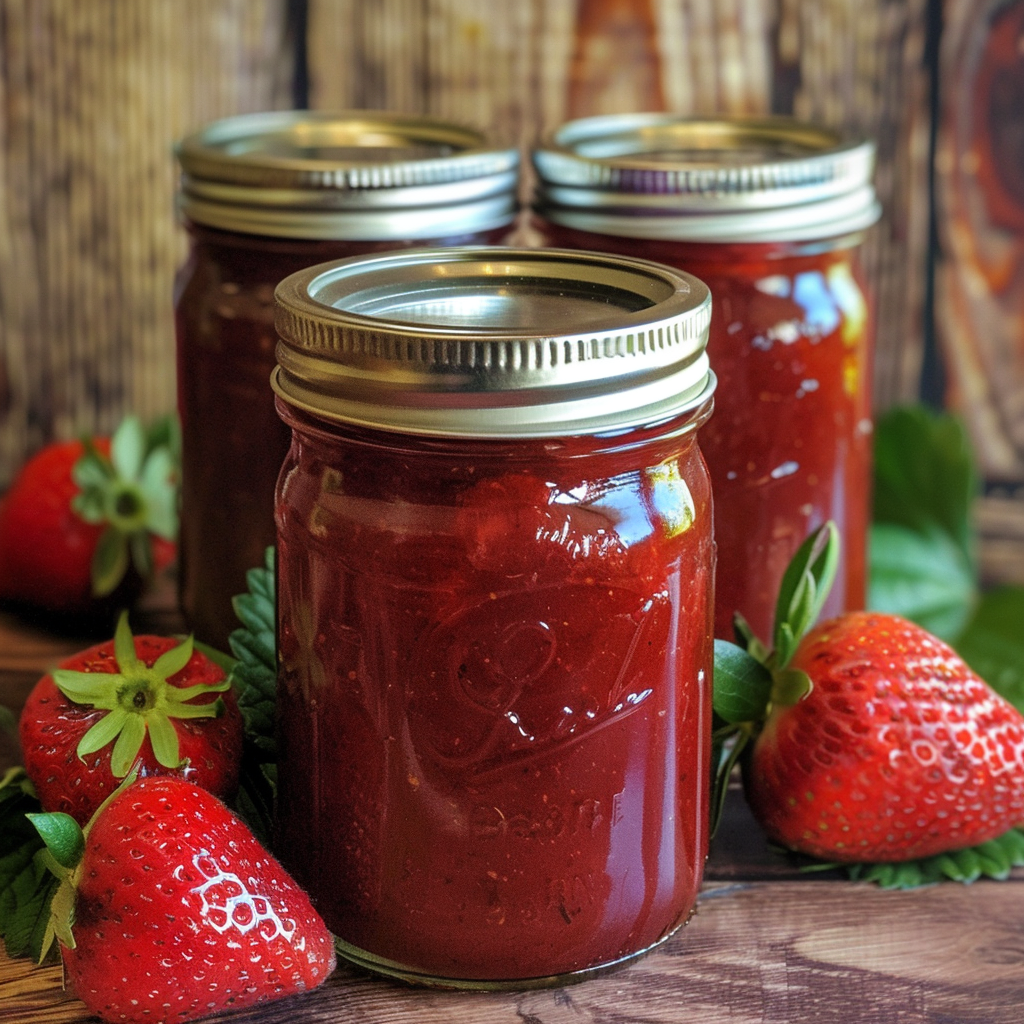
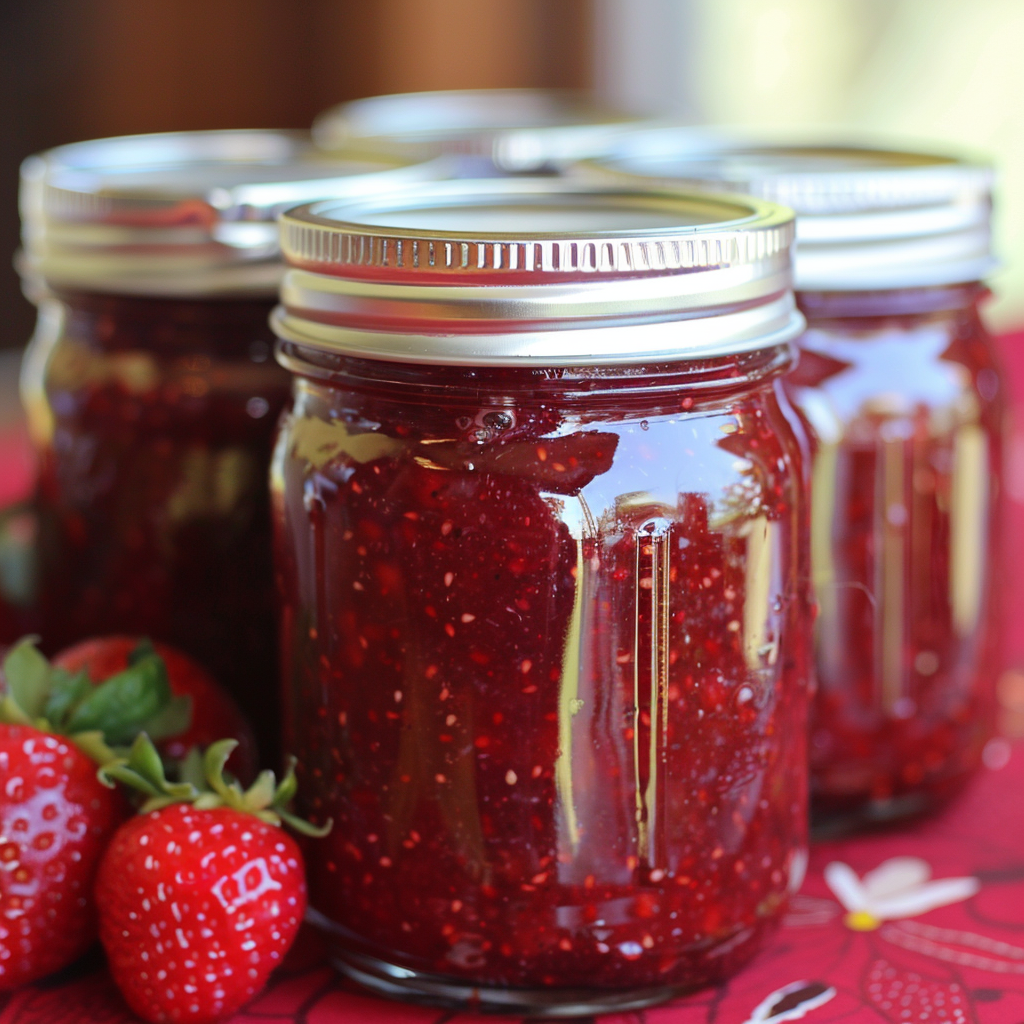
Making homemade strawberry jam is a delightful and rewarding experience that brings the fresh taste of ripe strawberries right to your kitchen. Not only is it a great way to preserve the abundance of strawberries during their peak season, but it also allows you to control the ingredients, ensuring a healthier and more flavorful jam. Whether you’re spreading it on toast, mixing it into yogurt, or using it as a filling for pastries, homemade strawberry jam offers a burst of sweetness and a touch of nostalgia that store-bought versions simply can’t match. In this guide, we’ll walk you through the process step-by-step, making it easy for you to create your own delicious strawberry jam from scratch.
Ingredients and Equipment Needed
Before starting, gather the following ingredients and equipment to ensure a smooth jam-making process:
Ingredients:
- Ripe Strawberries (3 cups): Choose fresh, ripe strawberries for the best flavor. They should be bright red, firm, and free of any bruises or mold.
- Sugar (1½ cups): Sugar not only sweetens the jam but also helps preserve it. The amount can be adjusted slightly based on your taste preference.
- Lemon Juice (2 teaspoons): Lemon juice adds a touch of acidity that balances the sweetness and helps the jam set properly. Fresh lemon juice is preferred, but bottled can also be used.
Equipment:
- Heavy-Bottomed Stainless-Steel Pot: A heavy pot ensures even heat distribution and prevents the jam from burning. A stainless-steel pot is ideal for this purpose.
- Wooden Spoon or Spatula: You’ll need a sturdy spoon or spatula for stirring the jam as it cooks.
- Sterilized Glass Jars with Lids: Properly sterilized jars are essential for safely storing your jam. Make sure the jars and lids are clean and free of cracks.
- Lemon Squeezer (Optional): If you’re using fresh lemons, a lemon squeezer will make it easier to extract the juice.
- Food Processor (Optional): If you prefer a smooth jam, a food processor can be used to blend the strawberries before cooking.
For those who love to experiment with different dessert recipes, you might find it interesting to explore this easy dessert cups recipes guide, which could complement your strawberry jam creations.
Choosing the Right Strawberries
The key to a great homemade strawberry jam lies in the strawberries you choose. Opt for ripe, fresh strawberries, preferably in their peak season, which typically runs from April to June. Fresh strawberries will give your jam a naturally sweet and vibrant flavor, ensuring a superior result.
Tips for Choosing Strawberries:
- Look for bright red, firm strawberries with a sweet aroma.
- Avoid berries that are mushy or have dark spots.
- If possible, buy locally sourced strawberries for the best flavor.
For more insights on selecting the best strawberries, refer to this Seasonal Guide to Strawberries.
Preparing the Strawberries
Properly preparing the strawberries is a crucial step in making homemade strawberry jam. This process ensures that your jam has the best flavor and texture, whether you prefer it smooth or with chunky bits of fruit. Here’s how to get your strawberries ready:
1. Washing the Strawberries
Start by washing the strawberries thoroughly under cold running water. This helps to remove any dirt, pesticides, or impurities. It’s important to wash them just before you’re ready to use them, as washing too early can lead to quicker spoilage.
2. Hulling the Strawberries
Once the strawberries are clean, it’s time to hull them. Hulling involves removing the green leafy tops and the white core beneath. You can do this easily with a small knife or a strawberry huller if you have one. Carefully slice off the top of each strawberry and discard the green parts. If the strawberries are large, you might want to slice them in half or quarters to make hulling easier.
3. Cutting the Strawberries
After hulling, cut the strawberries into smaller pieces. The size of the pieces depends on the texture you prefer for your jam. If you like chunky jam, leave the pieces larger. If you prefer a smoother consistency, cut the strawberries into smaller chunks or even blend them in a food processor for a smoother puree.
4. Optional Step: Mashing or Blending
For those who prefer a smoother jam, you can mash the strawberries with a potato masher or blend them in a food processor until they reach the desired consistency. However, if you enjoy a bit of texture, you can leave the strawberries in chunks and allow them to break down naturally during the cooking process.
If you enjoy working with seasonal fruits, you might also want to try making a lemon curd cake for another delicious homemade treat.

Cooking the Jam
Cooking the jam is where the magic happens. Follow these steps closely to ensure your jam turns out just right.
Step-by-Step Guide:
- Mix the strawberries and sugar in your pot, then add the lemon juice. Stir until the sugar starts to dissolve and the mixture becomes juicy.
- Cook the mixture on low heat, stirring continuously until the sugar is completely dissolved (about 2-3 minutes).
- Increase the heat to high and bring the mixture to a rolling boil. You’ll notice a lot of foam forming on the surface—this is normal. Use a spoon to skim off the foam, which will help maintain a clear, vibrant color in your jam.
- Thicken the jam by reducing the heat to medium after 15-20 minutes of boiling. Stir frequently to prevent the sugar from burning. The mixture will gradually thicken and change color to a deep, dark red.
- Test the consistency by using the freezer plate method: place a small amount of jam on a cold plate, wait for 30 seconds, then tilt the plate. If the jam doesn’t run, it’s ready. If it’s too runny, cook for a few more minutes and test again.
For detailed guidance on preserving fruits, including sterilization tips, check out The Science of Preserving Fruit.
Sterilizing and Storing the Jam
Sterilizing the jars is crucial to prevent the growth of bacteria, mold, or yeast that could spoil your jam. Follow these steps to properly sterilize your jars:
- Clean the Jars: Start by washing the glass jars and lids in hot, soapy water. Rinse them thoroughly to remove all soap residue.
- Boil the Jars: Place the clean jars and lids in a large pot, fill the pot with water, and ensure that the jars are fully submerged. Bring the water to a boil and let the jars and lids boil for at least 10 minutes. This will kill any remaining bacteria or spores.
- Dry the Jars: After boiling, carefully remove the jars and lids from the water using tongs. Place them on a clean towel to air dry. Do not touch the inside of the jars or lids, as this could reintroduce bacteria.
- Keep Warm: To prevent the jars from cracking when filled with hot jam, keep them warm by leaving them in the hot water (with the heat turned off) until you’re ready to use them.
Filling and Sealing the Jars
Once your jam is cooked and the jars are sterilized, it’s time to fill and seal the jars:
- Fill the Jars: While the jars are still warm, carefully ladle the hot jam into the jars, leaving about 1/4 inch of space at the top. This headspace allows for expansion during sealing.
- Remove Air Bubbles: Gently tap the jars on the counter or use a non-metallic utensil to remove any air bubbles trapped in the jam.
- Seal the Jars: Wipe the rims of the jars with a clean, damp cloth to remove any residue that could interfere with the sealing process. Place the lids on the jars and screw on the bands until they are fingertip-tight.
- Process the Jars: For added safety, you can process the filled jars in a boiling water bath for 10 minutes. This step is optional but recommended for longer shelf life.
Storing the Jam
After sealing, allow the jars to cool at room temperature. As the jars cool, you should hear a popping sound, indicating that the lids have sealed properly. Check the seals by pressing down on the center of each lid; if it doesn’t move, the jar is sealed.
- Label and Date: Once the jars are completely cool, label them with the contents and date of preparation.
- Store Properly: Store your sealed jars in a cool, dark place like a pantry or cupboard. Properly sealed and stored jam can last up to a year. Once opened, refrigerate the jam and consume it within a month.
For more information on how to sterilize jars, refer to Canning Basics: How to Sterilize Jars.
Creative Uses for Strawberry Jam
Homemade strawberry jam isn’t just for spreading on toast. Here are some creative ways to use your jam:
- Spread on bread, chapathi, or phulka for a sweet breakfast treat.
- Mix into yogurt for a fruity twist.
- Use as a filling for cakes, pastries, or cookies.
- Enhance smoothies with a spoonful of jam for added flavor and sweetness.
- Pair with cheese and crackers for a delicious snack.
For those interested in expanding their dessert repertoire, consider trying this almond croissant recipe that pairs wonderfully with a dollop of strawberry jam.
Common Problems and Troubleshooting
Even with the best intentions, sometimes things can go wrong. Here are some common problems and how to fix them:
- Jam too runny: Cook it longer to evaporate more liquid.
- Jam too thick: Add a little water and reheat gently to thin it out.
- Sugar crystallization: Ensure all sugar is fully dissolved before bringing the mixture to a boil.

FAQs
What is the shelf life of homemade strawberry jam?
Properly stored, homemade strawberry jam can last up to a year in a cool, dark place. Once opened, it should be consumed within a month and kept in the refrigerator.
Can I use frozen strawberries instead of fresh ones?
Yes, you can use frozen strawberries. However, make sure to thaw them completely and drain any excess liquid before using them in the recipe.
Why didn’t my jam set properly?
If your jam is too runny, it may not have been cooked long enough. The pectin in the fruit needs time to activate and thicken the jam. Alternatively, the strawberries used might not have had enough natural pectin.
Is it necessary to add pectin to homemade strawberry jam?
No, it’s not necessary to add pectin to this recipe. The natural pectin in the strawberries and the lemon juice is usually sufficient to set the jam.
How can I reduce the sugar content in the jam?
You can reduce the sugar by substituting some of it with a natural sweetener like honey. However, reducing sugar may affect the jam’s texture and shelf life.
Print
Homemade Strawberry Jam
- Total Time: 50 minutes
- Yield: 2 cups of jam
- Diet: Vegetarian
Description
A sweet, vibrant jam made from fresh strawberries, perfect for spreading on toast, adding to desserts, or giving as a homemade gift.
Ingredients
– 3 cups ripe strawberries (hulled and chopped)
– 1½ cups sugar
– 2 teaspoons lemon juice (or lime juice)
Instructions
1. Wash and hull the strawberries.
2. Cut the strawberries into chunks.
3. Combine strawberries, sugar, and lemon juice in a pot.
4. Cook on low heat until sugar dissolves.
5. Increase heat, bring to a boil, and skim foam.
6. Cook until the mixture thickens and reaches the desired consistency.
7. Sterilize jars, fill with hot jam, and seal.
8. Let cool and store in a cool, dark place.
Notes
– For a smoother jam, blend strawberries before cooking.
– Store in a cool, dark place for up to a year.
– Use pectin if you prefer a firmer texture.
- Prep Time: 10 minutes
- Cook Time: 40 minutes
- Category: Jam
- Method: Cooking
- Cuisine: American
Nutrition
- Calories: 40
- Sugar: 9g
- Carbohydrates: 10g
Conclusion
Making homemade strawberry jam is a rewarding experience that results in a delicious, versatile condiment. With just a few ingredients and some patience, you can enjoy the fresh taste of summer all year round. Whether you’re a beginner or a seasoned cook, this recipe is sure to become a staple in your kitchen.


