

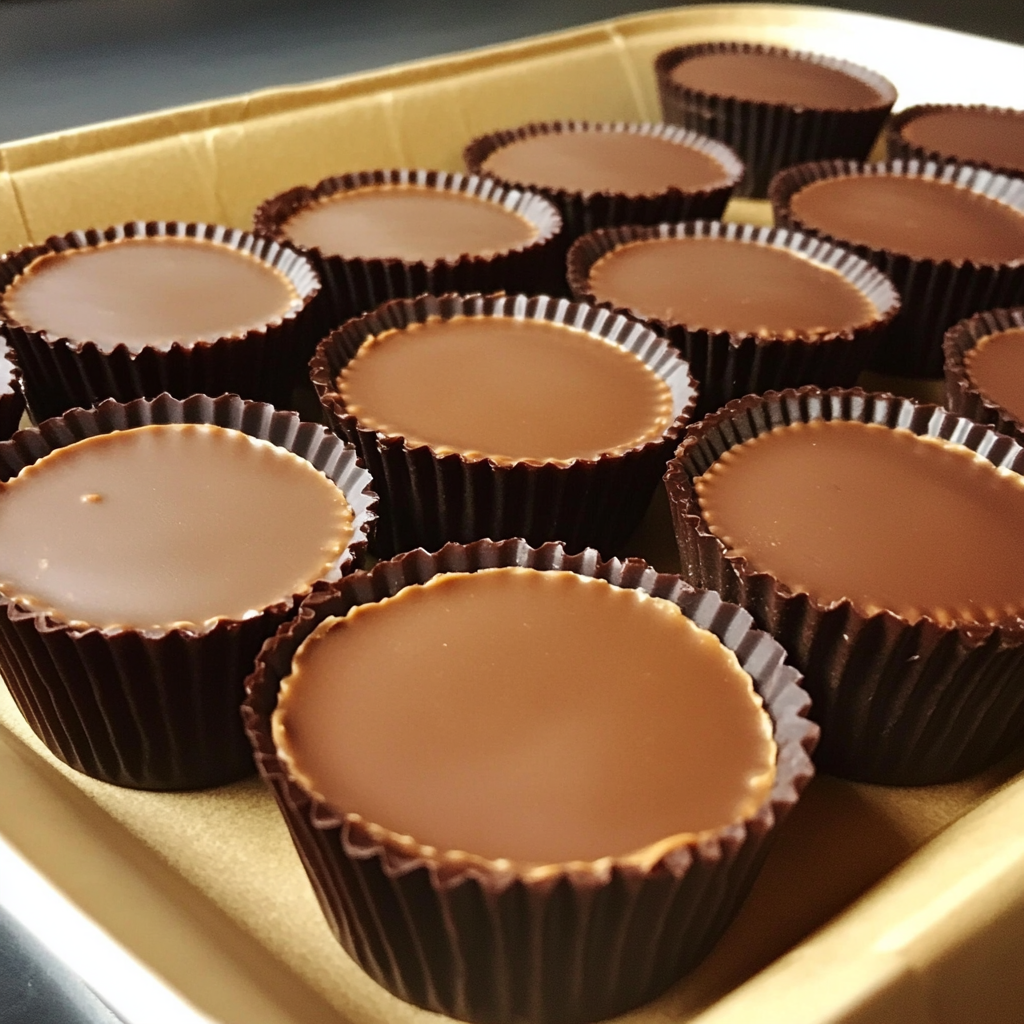
Introduction to Homemade Reese’s Cups
Who doesn’t love the perfect combination of creamy peanut butter and rich chocolate? Homemade Reese’s cups bring the same indulgent taste as the store-bought version but with a fresh, customizable twist. Whether you prefer dark chocolate, extra peanut butter filling, or a healthier alternative, making them at home ensures you get the exact flavors you love.
There are several reasons why making homemade Reese’s cups is a game-changer:
- Healthier Ingredients: You control the quality, avoiding preservatives and excessive sugars.
- Customization: Adjust the chocolate thickness, choose different nut butters, or add a sprinkle of sea salt for a gourmet touch.
- Easy and Fun: With just a few ingredients and minimal effort, you can create a batch in under 30 minutes.
If you enjoy chocolate-covered treats, you might also love making Chocolate-Covered Strawberries, another simple yet indulgent homemade dessert.
By following this guide, you’ll learn everything from selecting the best ingredients to mastering the perfect chocolate-peanut butter ratio. Let’s dive in and create the ultimate homemade Reese’s cups! 🍫🥜
Why Make Homemade Reese’s Cups?
- Customizable: Adjust sweetness, chocolate type, and filling variations.
- Healthier Options: Use organic peanut butter, dark chocolate, or sugar-free sweeteners.
- Dietary-Friendly: Easily adapt to vegan, keto, or gluten-free preferences.
Ingredients You’ll Need
- Peanut Butter: Creamy or crunchy, natural or sweetened.
- Chocolate: Milk, dark, or white chocolate for the coating.
- Sweetener: Powdered sugar, honey, or maple syrup.
- Extras: Sea salt, vanilla extract, crushed nuts.
For those who love peanut butter-based treats, check out these Peanut Butter Brownie Swirl Cookies for another delicious dessert idea.
Step-by-Step Recipe
1. Make the Peanut Butter Filling
- Mix peanut butter with powdered sugar until smooth.
- Adjust the consistency with a small amount of melted butter or coconut oil if needed.
2. Melt the Chocolate
- Use a microwave in 30-second intervals, stirring between each session.
- Alternatively, melt the chocolate using a double boiler for a silkier texture.
If you love no-bake desserts, you might also enjoy making Easy Fruity Marshmallow Fudge, which requires minimal effort and no baking.
3. Assemble the Cups
- Pour melted chocolate into silicone molds or muffin tins.
- Add a small spoonful of peanut butter filling.
- Cover with another layer of melted chocolate.
4. Chill and Serve
- Refrigerate for at least 30 minutes until firm.
- Enjoy immediately or store in an airtight container.
Variations & Customizations
One of the best parts of making homemade Reese’s cups is the endless customization options. Whether you want to experiment with different chocolates, fillings, or toppings, there’s a version for everyone!
1. Chocolate Coating Options
- Dark Chocolate: For a richer, less sweet taste with antioxidant benefits.
- Milk Chocolate: Classic and creamy, just like traditional Reese’s cups.
- White Chocolate: A sweeter, vanilla-infused twist on the classic.
- Flavored Chocolate: Try caramelized white chocolate, mint chocolate, or espresso-infused dark chocolate for a unique touch.
2. Filling Variations
- Almond Butter or Cashew Butter: Swap out peanut butter for a different nutty flavor.
- Sunflower Seed Butter: A nut-free alternative that’s perfect for those with allergies.
- Nutella or Chocolate-Hazelnut Spread: A rich, decadent option.
- Caramel or Marshmallow Cream: Add a gooey layer for an extra indulgent treat.
3. Crunchy & Fun Add-Ins
- Chopped Nuts: Almonds, pecans, or hazelnuts for extra crunch.
- Cookie Crumbs: Crush graham crackers, Oreos, or Biscoff cookies into the filling.
- Sea Salt or Flaky Salt: A sprinkle on top enhances the sweet and salty contrast.
4. Dietary Modifications
- Vegan: Use dairy-free chocolate and maple syrup as a sweetener.
- Keto: Opt for sugar-free chocolate and low-carb sweeteners like erythritol.
- Gluten-Free: Ensure all ingredients, especially add-ins, are certified gluten-free.
No matter your preference, these variations will make your homemade Reese’s cups even more delicious and exciting! 🍫🥜
For more chocolate inspiration, try making Chocolate Brownie Cookies, which deliver a rich chocolatey experience similar to Reese’s cups.
Storage & Shelf Life
Proper storage is key to keeping your homemade Reese’s cups fresh and delicious. Since they are made without preservatives, they require careful handling to maintain their smooth chocolate coating and creamy peanut butter filling.
Short-Term Storage:
- Store in an airtight container in the refrigerator for up to 2 weeks.
- If stacking them, place parchment paper between layers to prevent sticking.
Room Temperature Storage:
- If your home is cool (below 70°F/21°C), you can store them in an airtight container at room temperature for 3-5 days.
- Avoid exposure to direct sunlight or heat to prevent melting.
Freezing for Long-Term Storage:
- Place in a freezer-safe container and store for up to 3 months.
- Let them thaw at room temperature for 5-10 minutes before eating to enjoy the perfect texture.
With proper storage, your homemade peanut butter cups will stay fresh and ready for whenever cravings strike! 🍫🥜
Serving Ideas & Pairings
While homemade Reese’s cups are delicious on their own, pairing them with complementary flavors can take your dessert experience to the next level. Here are some fun and creative ways to serve them:
Beverage Pairings:
- Cold milk – A classic combination that enhances the creamy peanut butter filling.
- Hot coffee or espresso – The bitterness of coffee balances the sweet chocolatey goodness.
- Hot chocolate – Double up on the chocolate indulgence for a rich, comforting treat.
Dessert Enhancements:
- Crumble over ice cream – Sprinkle chopped Reese’s cups on top of vanilla or chocolate ice cream.
- Blend into milkshakes – Mix them into a peanut butter or chocolate milkshake for extra decadence.
- Bake into brownies or cookies – Add chopped pieces into brownies or cookie dough for a gooey surprise.
Whether enjoyed solo or as part of a dessert spread, these homemade peanut butter cups make every bite irresistible! Discover Nutritional benefits of peanut butter 🍫🥜

Homemade Reese’s cups
Ingredients
- 1 cup creamy peanut butter
- ¼ cup unsalted butter melted
- ½ cup powdered sugar
- 1 teaspoon vanilla extract optional
- 2 cups chocolate chips milk, dark, or white chocolate
- 1 tablespoon coconut oil optional, for smooth melting
- Pinch of sea salt optional, for topping
Instructions
- Prepare the Filling:
- In a bowl, mix peanut butter, melted butter, powdered sugar, and vanilla extract until smooth.
- Melt the Chocolate:
- Microwave chocolate chips in 30-second intervals, stirring each time, or use a double boiler.
- Assemble the Cups:
- Spoon a layer of melted chocolate into muffin liners or silicone molds.
- Add a dollop of peanut butter filling, then cover with more chocolate.
- Smooth the top and sprinkle sea salt if desired.
- Chill & Serve:
- Refrigerate for 30 minutes or until set.
- Peel off the liners and enjoy!
Notes
- For a firmer filling: Add more powdered sugar.
- For a softer texture: Mix in 1 tablespoon of coconut oil with the peanut butter.
- Storage: Keep in an airtight container in the fridge for up to 2 weeks or freeze for 3 months.
Common Mistakes to Avoid
Making homemade Reese’s cups is simple, but a few common mistakes can affect the texture, flavor, and overall success of your treats. Here’s what to watch out for:
1. Chocolate Seizing or Becoming Grainy
- Overheating chocolate or exposing it to even a small drop of water can cause it to seize.
- Fix: Melt in short 30-second intervals in the microwave, stirring each time, or use a double boiler for better control.
2. Peanut Butter Filling is Too Runny or Too Dry
- Natural peanut butter tends to be runnier, while processed peanut butter may be too thick.
- Fix: If it’s too runny, mix in powdered sugar or coconut flour; if too dry, add a little melted butter or coconut oil.
3. Chocolate Layer is Too Thick or Too Thin
- Too much chocolate overpowers the peanut butter filling, while too little can make the cups fragile.
- Fix: Use a 1:1 chocolate-to-peanut butter ratio for the perfect balance.
4. Not Letting the Cups Set Properly
- Removing them too soon from the fridge results in melting or uneven layers.
- Fix: Chill for at least 30 minutes before removing from molds.
5. Improper Storage
- Storing them at room temperature in warm weather can cause them to melt.
- Fix: Store in an airtight container in the fridge or freezer for long-lasting freshness.
Avoiding these mistakes will ensure your homemade Reese’s cups turn out perfectly every time! 🍫🥜
Frequently Asked Questions (FAQs)
1. How do I make Reese’s cups without a mold?
If you don’t have a muffin tin or silicone molds, you can use small paper cupcake liners instead. Simply place them on a baking sheet and follow the same layering process. You can also spread the chocolate and peanut butter mixture in a shallow pan and cut them into squares once set.
2. Can I use natural peanut butter?
Yes! However, natural peanut butter tends to be runnier than processed versions. To thicken it up, mix in a little powdered sugar or coconut flour. Stirring the peanut butter well before using also helps prevent excess oil separation.
3. Why is my chocolate not melting smoothly?
If your chocolate seizes or becomes grainy, it may have been overheated or come into contact with water. Always melt in short intervals, stirring between each one. Using a double boiler helps maintain a silky texture.
4. How do I make them less sweet?
Use dark chocolate instead of milk chocolate and reduce or omit powdered sugar from the peanut butter filling. For a naturally sweet taste, try using honey or maple syrup.
5. Can I store Reese’s cups at room temperature?
They’re best stored in the fridge to prevent melting, especially if you used natural peanut butter. However, they can last at room temperature for a few days in a cool, dry place.
6. Can I make a large batch and freeze them?
Absolutely! Homemade Reese’s cups freeze well for up to 3 months. Just store them in an airtight container and let them sit at room temperature for a few minutes before eating.
Would you like me to expand on any of these sections? 😊