

Introduction to Easter Jell-O Pie
When it comes to festive springtime desserts, few treats capture the fun and color of the season like Easter Jell-O Pie. This vibrant, no-bake dessert is perfect for bringing a pop of color to your holiday table. With its layered Jell-O filling, creamy texture, and delightful sweetness, this pie is a guaranteed crowd-pleaser.
What makes Easter Jell-O Pie so special is its versatility. You can customize the layers with different Jell-O flavors to match your desired color theme — think pastel pinks, bright yellows, and sky blues. Whether you’re hosting a family gathering, an Easter brunch, or a springtime potluck, this dessert is sure to steal the spotlight.
For even more festive inspiration, consider pairing your Jell-O Pie with other delightful Easter desserts like Colorful No-Bake Treats or get creative with decorating ideas using tips from Fun Easter Baking Ideas.
Not only is this pie simple to make, but it’s also a fun project for kids to help with. By alternating vibrant layers and adding playful toppings like sprinkles, mini eggs, or edible glitter, you’ll create a dessert that’s as beautiful as it is delicious.Discover this Cherry Pie Bombs
In this guide, we’ll walk you through everything you need to know — from choosing ingredients to perfecting your layers — to create a stunning Easter Jell-O Pie.
Why Easter Jell-O Pie is Perfect for Spring
Easter Jell-O Pie isn’t just visually appealing; it’s also incredibly easy to make. This dessert combines the nostalgic charm of Jell-O with a rich, creamy filling, creating a dessert that’s both delicious and simple.
For more festive dessert ideas, explore Creative Easter Dessert Ideas that will add flair to your holiday spread. Additionally, mastering Jell-O desserts is easier with these Tips for Making Perfect Jell-O Desserts.
Ingredients and Tools Required
Creating a delightful Easter Jell-O Pie is simple when you have the right ingredients and tools on hand. Below is a comprehensive list to ensure you’re fully prepared to craft this festive dessert.
Essential Ingredients
For the Jell-O Layers:
- 3 (3 oz) packs of Jell-O in vibrant colors like lemon, berry blue, and grape (or choose your own combination).
- 3 cups boiling water (1 cup per Jell-O flavor).
- 3 cups cold water (1 cup per Jell-O flavor).
For the Creamy Layer:
- 8 oz cream cheese, softened.
- 1½ cups whipped topping, thawed for easy blending.
For the Crust:
- 1 pre-made graham cracker crust (9-inch).
- Alternatively, create a homemade crust by combining:
- 1½ cups crushed graham crackers.
- ¼ cup granulated sugar.
- 6 tbsp melted butter.
Optional Ingredients for Extra Flair:
- Marshmallows for a chewy texture.
- Sprinkles or edible glitter for a decorative finish.
- Candy eggs or chocolate bunnies for festive garnishing.
Required Tools
To ensure your pie layers are perfectly smooth and well-set, gather the following tools:
- Mixing bowls (preferably glass or metal to ensure Jell-O sets properly).
- Electric mixer for blending cream cheese and whipped topping.
- Measuring cups for precise ingredient portions.
- Spatula for smooth layer spreading.
- Pie dish (if making a homemade crust).
Having all your ingredients and tools ready will make the preparation process seamless. Before starting, ensure your fridge has enough space to accommodate your pie during the setting process.
For expert tips on achieving the perfect crust, check out Graham Cracker Crust Perfection to enhance both flavor and texture in your dessert.
Step-by-Step Recipe Instructions
Step 1: Preparing the Jell-O Layers
- Dissolve one flavor of Jell-O in 1 cup of boiling water.
- Stir until fully dissolved, then add 1 cup of cold water.
- Pour the mixture into your prepared crust and refrigerate for about 30 minutes until set.
- Repeat for each Jell-O flavor, ensuring each layer sets before adding the next.
Step 2: Creating the Creamy Layer
- In a mixing bowl, beat softened cream cheese until smooth.
- Gently fold in the whipped topping to create a light, airy texture.
- Spread the creamy mixture over the Jell-O layers once they are set.
Step 3: Assembling the Pie
- Alternate between Jell-O layers and the creamy filling to achieve a vibrant, layered look.
- For best results, refrigerate the finished pie for at least 4 hours before serving.
Creative Variations and Flavors
Fruit-Inspired Themes
- Strawberry shortcake Jell-O Pie with fresh strawberries
- Tropical twist with mango or pineapple Jell-O
Kid-Friendly Versions
- Rainbow Jell-O Pie using multiple vibrant colors
- Candy-filled layers with gummy bears or mini marshmallows
Low-Sugar and Keto-Friendly Alternatives
- Use sugar-free Jell-O and low-fat cream cheese for a healthier dessert.
Vegan and Dairy-Free Options
- Swap whipped topping for coconut whipped cream.
- Use plant-based gelatin as an alternative.
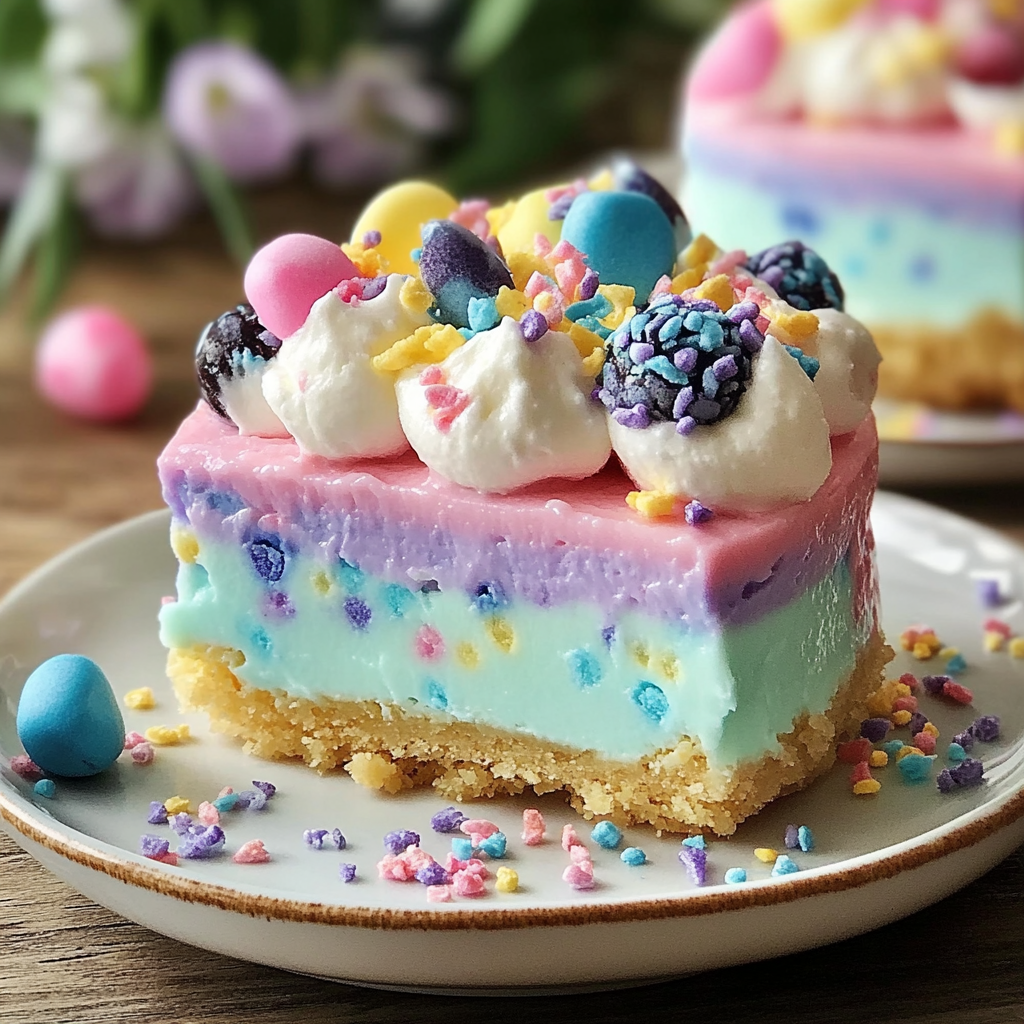
Decorating Your Easter Jell-O Pie
- Add swirls of whipped cream for a classic finish.
- Sprinkle pastel-colored sugar crystals or sprinkles on top.
- Garnish with mini chocolate eggs, bunny candies, or edible flowers for a festive look.
Storing and Serving Tips
- Keep the pie refrigerated until ready to serve.
- For longer storage, freeze the pie and allow it to thaw in the fridge before serving.
- Slice with a sharp knife dipped in warm water for clean, precise cuts.
Common Mistakes and Troubleshooting
Even with its simple steps, making the perfect Easter Jell-O Pie can sometimes be tricky. Here are common issues and how to fix them for a flawless dessert:
1. Jell-O Layers Aren’t Setting Properly
✅ Solution: Ensure you’re using the correct ratio of boiling water and cold water (typically 1 cup each per 3 oz Jell-O pack). Overdiluting can prevent the Jell-O from firming up.
✅ Allow each layer to chill for at least 30 minutes before adding the next.
2. Cream Cheese Layer is Lumpy
✅ Solution: Soften your cream cheese at room temperature before blending. Beating it with an electric mixer until smooth before folding in the whipped topping will ensure a creamy texture.
3. Jell-O Colors Bleed Between Layers
✅ Solution: Each Jell-O layer must be fully set before adding the next. Pour the next layer slowly over the back of a spoon to reduce impact and prevent colors from mixing.
4. Pie Layers Slide When Sliced
✅ Solution: Refrigerate the pie for at least 4 hours, or overnight for optimal firmness. Chilling allows the layers to bond and hold their shape when sliced.
5. Crust Crumbles or Breaks Apart
✅ Solution: For homemade crusts, ensure the graham cracker base is packed tightly and chilled for 30 minutes before adding Jell-O.
Health and Nutritional Information
Easter Jell-O Pie is a delightful dessert, but understanding its nutritional value can help you make informed choices. A standard slice (1/8 of the pie) typically contains:
- Calories: ~250-300 kcal
- Total Fat: ~12-15g
- Carbohydrates: ~35-40g
- Sugar: ~25-30g
- Protein: ~3-5g
These values can vary based on your choice of Jell-O flavors, whipped topping, and crust type.
Healthier Alternatives
If you’d like to create a lighter version of this dessert, consider these swaps:
✅ Use sugar-free Jell-O to significantly reduce the carbohydrate and sugar content.
✅ Opt for low-fat cream cheese and light whipped topping for fewer calories.
✅ For a keto-friendly option, replace the crust with a nut-based crust and use sugar-free sweeteners.
✅ Adding fresh fruit, like strawberries or blueberries, can increase the fiber content and boost nutritional value.
Allergen Information
- This dessert contains dairy and gelatin (not suitable for vegetarians unless a plant-based gelatin substitute is used).
- For a vegan version, replace whipped topping with coconut whipped cream and use plant-based gelatin.
Frequently Asked Questions (FAQs)
Here are some common questions to help you achieve the perfect Easter Jell-O Pie.
1. How far in advance can I make Easter Jell-O Pie?
You can prepare Easter Jell-O Pie up to 2 days in advance. The longer it sits, the more the flavors meld together, making it even tastier. Just be sure to keep it covered in the fridge to maintain its freshness.
2. Can I use a homemade graham cracker crust instead of a pre-made one?
Absolutely! A homemade crust adds a richer flavor and is easy to prepare. Simply combine:
- 1½ cups crushed graham crackers
- ¼ cup granulated sugar
- 6 tablespoons melted butter
Press the mixture firmly into a pie dish and chill it for 30 minutes before adding your Jell-O layers. For expert tips, check out Mastering Graham Cracker Crusts.
3. How do I prevent my Jell-O layers from mixing?
To achieve clean, defined layers:
- Ensure each layer is fully set (about 30 minutes in the fridge) before adding the next.
- Pour the next layer slowly over the back of a spoon to prevent disturbing the previous layer.
4. Can I add fruit to the Jell-O layers?
Yes! Adding fruit like sliced strawberries, blueberries, or pineapple chunks can enhance both flavor and texture. Just be sure the fruit is fully drained and patted dry before adding it to the Jell-O.
5. How long should I let the pie chill before serving?
For best results, refrigerate your pie for at least 4 hours, but overnight chilling ensures the layers are fully set and the flavors well-developed.
6. Can I make a dairy-free version of Easter Jell-O Pie?
Yes! Swap regular cream cheese for dairy-free cream cheese and use coconut whipped topping for a delicious vegan-friendly alternative.
Conclusion and Final Tips
Creating a stunning Easter Jell-O Pie is a delightful way to celebrate the season with a dessert that’s as vibrant as it is delicious. By layering colorful Jell-O flavors, adding a rich cream cheese filling, and finishing with playful toppings like sprinkles or candy eggs, you’ll impress guests with both taste and presentation.
For best results, allow your pie to chill for at least 4 hours to ensure perfect layers. Don’t be afraid to get creative with flavors and decorations — that’s what makes this dessert so fun!
If you’re looking for more dessert inspiration, visit trusted sites like Taste of Home or Food Network for additional tips and ideas.
Happy Easter baking! 🐣